3D pixel Stretch effect in Photoshop
Transforming pixels into a 3D design seems quite unreal, don’t you think? Well, with Photoshop, you’d better think again. Stretching a single line of pixels is an easy way to create special digital effects in graphic design. By taking this technique a step further, we can create wonderful, vibrant 3D effects in Photoshop!
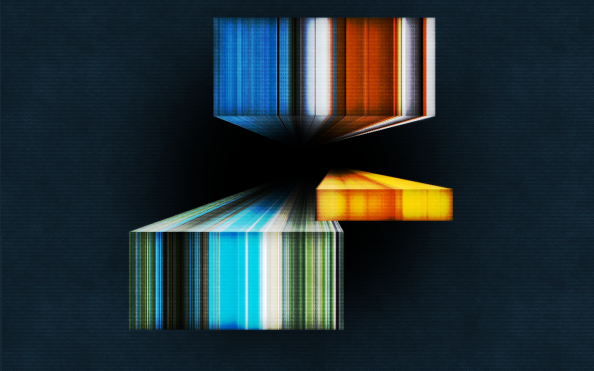
In this tutorial, we are going to stretch a single layer of pixels into 3D designs and outcome will look something like this:
 Stretching a single line of pixels is an easy way to create special digital effects in graphic design. By taking this technique a step further, we can create wonderful, vibrant 3D effects right in Photoshop!
Step 1
We will start by creating a new document with a size of 1280 x 800. Fill the background layer with a nice blue (#152935)

Now, to choose 3 different photos that are filled with vibrant colors. The actual contents in the picture do not matter, we’re just interested in the color!
Example Photo 1

Example Photo 2

Example Photo 3

Step 2
Create a new layer.
Using a large (800px), soft (0% hardness), black brush with the Brush Tool, create a large black circle towards the center of your canvas. This will be used to help add depth to our design later on.

Step 3
We need to copy a single row of pixels from one of our images. To do this, we’ll use the Single Row Marquee Tool (located underneath the Rectangular Marquee Tool).
In one of the photos you just downloaded, use this tool to select a row of pixels by just clicking once on the canvas, and then copy (Edit > Copy or Ctrl + C) that row. Paste the copied row into your design in a new layer.

Step 4
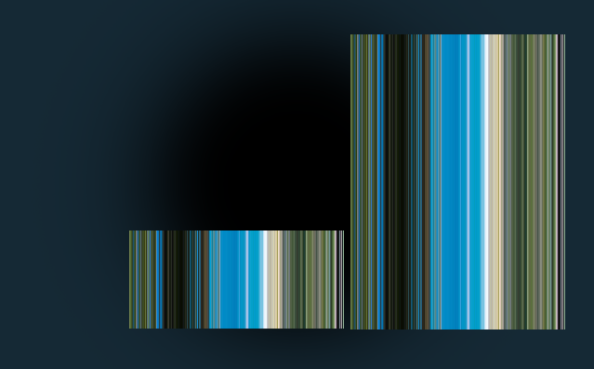
Using Transform(CTRL + T), vertically stretch this row of pixels into a rectangle just as shown below. You should also horizontally shrink your pixels so that you have a rectangle of stretched pixels.

Step 5
Now we need to create the warp effect. Duplicate this layer of stretched pixels. and then transform your new layer so that it’s quite longer than the original. It should remain the same width.
Step 6
We’re going to apply another transformation to our new layer. This time, it’s a bit more complicated, but I’ll try to make it very simple to follow.
First, align the bottom pixels of your new layer with the top pixels of your first pixel stretch layer.
Step 7
Go into Free Transform Mode (Ctrl + T).
Grab the top middle handle, and drag it downwards to shrink the layer vertically. The two layers should still meet one another.
Hold Ctrl and click and drag the top middle handle again so that the top of the layer being transformed is offset from the bottom of said layer. The bottom of the layer should still touch the top of the first pixel stretch layer.
Finally, Hold CTRL + Alt + Shift (perspective transform) and click and drag one of the top outer handles inwards so they meet in the center. This will give the illusion of a 3D box moving back into space.
Keep experimenting with the transformation tool. Once you are able to comprehend its effects properly, try to get an image similar to the one shown below:

Step 7
We need to add shading to our new subject. I’d like to have it appear as if it is coming forth out of the dark center of our design. To accomplish this, we’ll be using Photoshop’s Brush Tool some more.
First, we’ll shade the front of our box using a soft, medium size (100-200) brush. Create a selection around the layer contents of your first pixel stretch layer (Ctrl + Click Layer Thumbnail).
Using a Black brush, paint around the edges of the box to give the illusion of lighting in your design.I especially focused my lighting towards the bottom edges of my box to make the light appear as if it came from slightly above.
Try to paint using just the edges of your soft brush so that the shading lightly darkens the box rather painting it completely black.
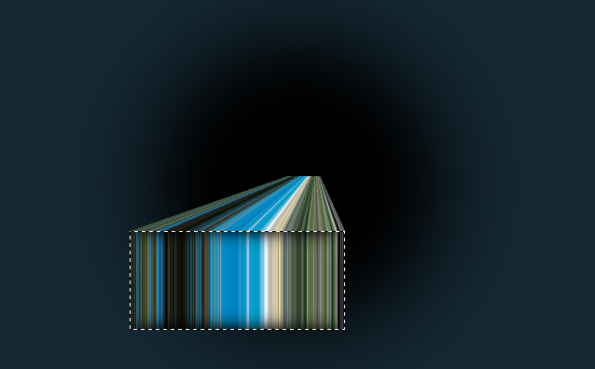
Now move this layer ABOVE your diagonal pixel stretch layer.
Select the layer contents of your diagonally stretched layer by CTRL clicking on the layer thumbnail (which is now below your rectangle layer). Expand this selection by one pixel (Select > Modify > Expand).
Using a large, white brush, paint along the bottom of this layer to differentiate between the rectangle layer. Then, using a large, black brush, fade out the back of this layer so it blends into the background.

Step 8
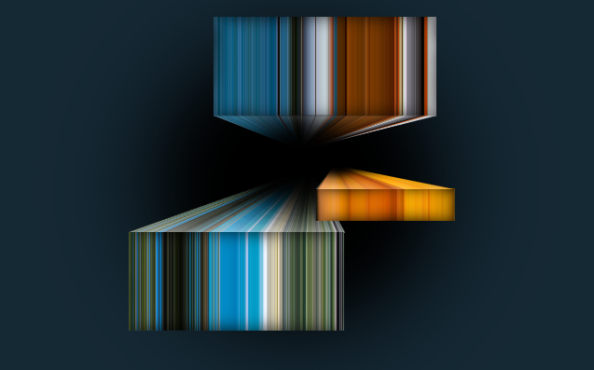
Using different images, create several more 3D blocks to create more interesting designs. Here is a combination I put together with the images provided at the beginning of this tutorial:
Vary the angles at which things extrude to give your design greater 3D perspective. You could also try making your blocks extrude from the bottom rather than the top!
Step 9
After finishing the design shown above, it doesn’t seem to stand out vibrantly so i wanted it to be a bit more lively. To make things brighter, I merged all of my block layers (Select them all in the Layers Pallete, then Layer > Merge Layers), duplicated the layer and applied a light Gaussian Blur to the lower layer (original one) (Filter > Gaussian Blur), and set the layers blending mode to Color Dodge. To add a finishing touch, download the denim texture below and apply it underneath the layers.
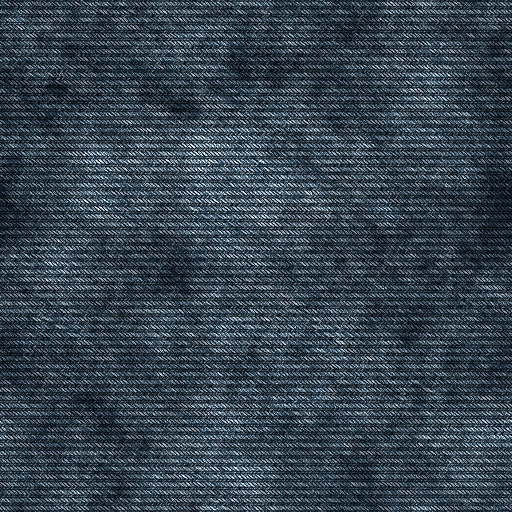
To bring out a retro look, i added the above denim texture and changed the mode to overlay. The final outcome is this: (click on the image to get a larger view) Hope you like the tutorial!! Good Luck…
Thanks to Tutorial9 for the wonderful tutorial, and also for the stock images.



Comments